
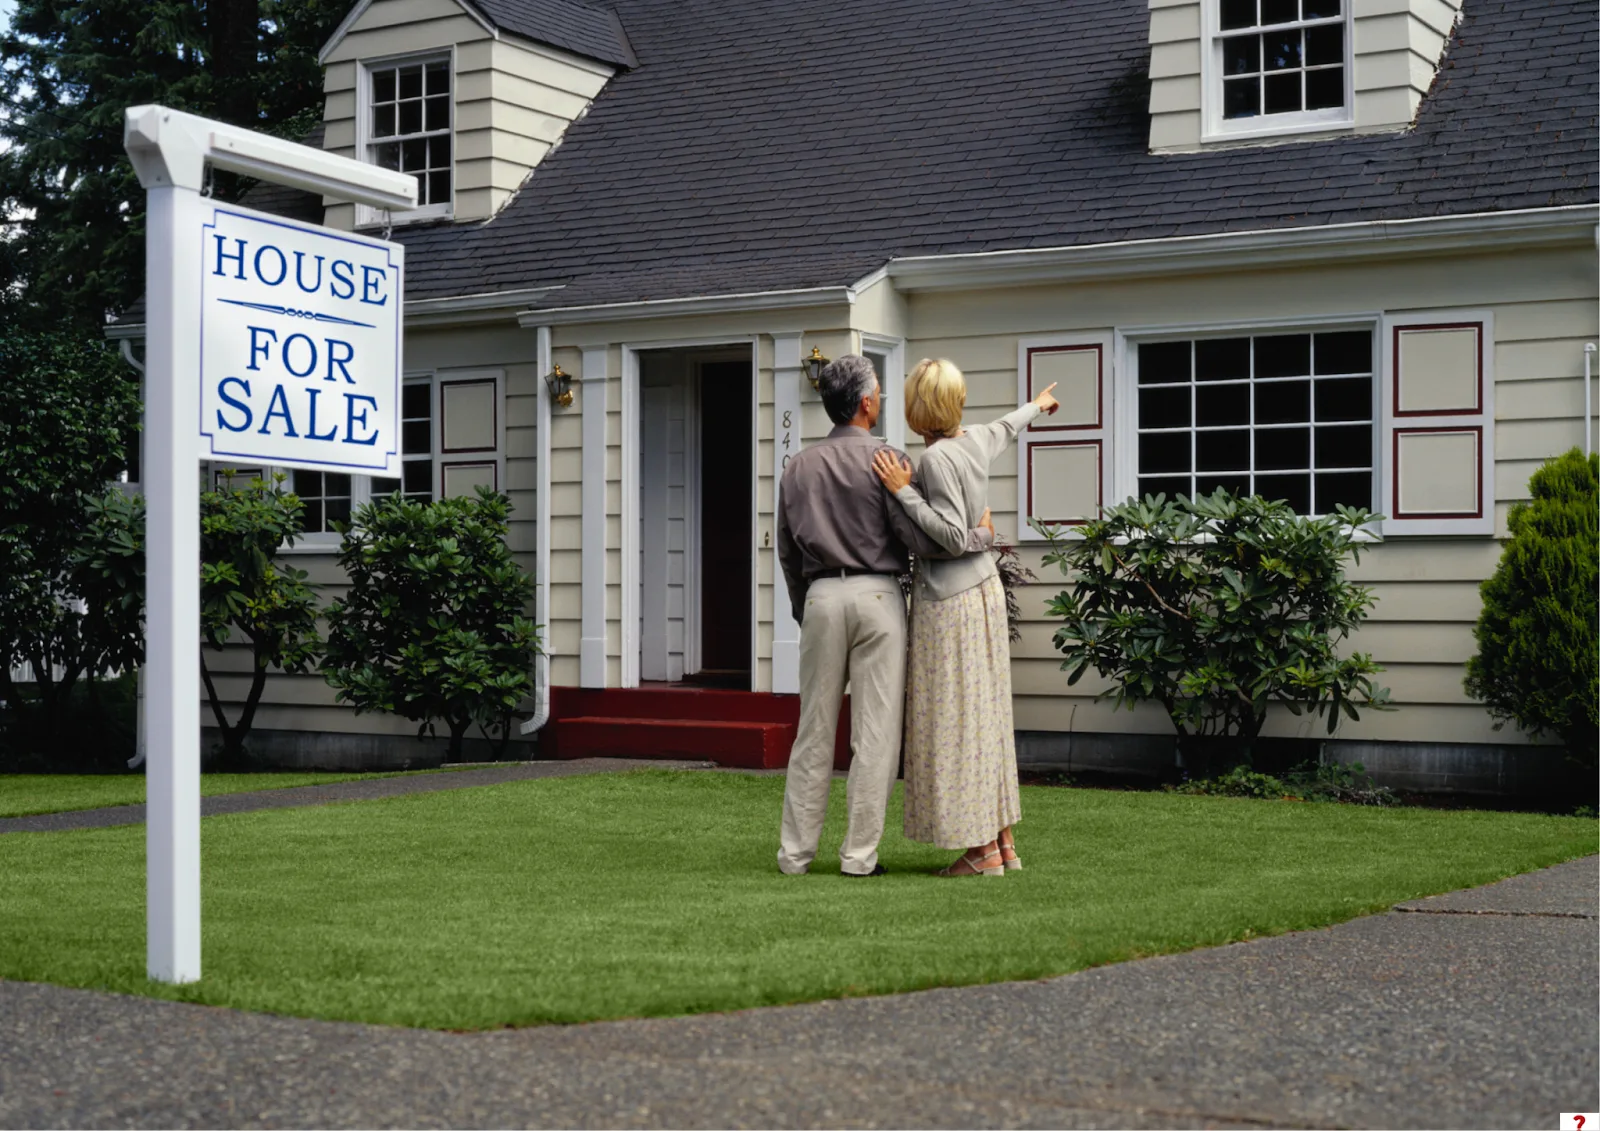
It is entirely possible to take photos of your house to sell it without employing a photographer with the right preparation and methods. The buyer makes his decision within a second depending on the pictures and therefore you have to make all the rooms look bright, spacious and welcoming. It can make you create listing-ready photos with the help of simplified staging, clever angles, and adequate lighting. This guide will take you through all the steps, such as why activities such as professional washing of windows can significantly enhance your outcomes.
Plan Your Location in Advance
Preparation Before you touch your camera, focus. A half clean, tidy room always takes up better in photography, as compared to one that is in a mess. Eliminate personal belongings like family pictures, unnecessary decorations and anything that does not focus on the features of the rooms. Fluff cushions, straight back chairs and position stuff so that it looks planned and purposeful.
When you are dealing with your windows this is the best moment too. The best tool is the natural light and this lighting is used best on hazy or streaky windows to slow down your photos. It is worth having a brief mention of professional window washing as far as glass with no spots can dramatically enhance the vision and sunlight. You do not always need a service but knowing the extent of the streak-free shine that professional window washing has will help you strive to reach the same goal.
Natural Light is the best Light to use
Listing photos made warm and spacious is the product of good lighting. Use the minimal lighting when it is possible since it produces uneven color and harsh shadows. Rather, use natural daylight instead. And this is another area where clean windows are important; the result that you get in the houses after the windows have been washed by the professionals indicates how much brighter an area will be when the light is entering through a clear glass.
Select Angles To Increase the Room Appearances
The angles dictate the roominess of your house in the photographs. It is a wise rule to get in through the door or into a corner that you get as much of the room as possible. Hold your camera at the level of your chest, otherwise it may give the walls and pieces of furniture an odd shape.
Go as wide as possible, but do not resort to excessive distortion. There is no need to have any fancy equipment; modern smartphones have in-built wide-angle lenses, which are good to use. The most important thing is stability. Keep the lines straight with the help of the camera or the tripod. Never lean the camera upwards or downwards because it distorts ceilings and floors.
Arrange the Stage Rooms in a manner that brings out the best in them
There is no need to have any costly decoration to stage; a little twist can make a significant impact. Symmetrical configurations should also be used in instances where they are applicable such as bedrooms and living rooms. Introduction of color with throw blankets or pillows but make the general color palette subtle.
Keep Camera Settings Simple
It does not take one a photography professional to change simple settings. Highly, nearly every smartphone and digital camera has simple built-in picture modes that are intended to be used in the indoors. The following three simple settings will be used:
- HDR Mode: This assists in the light-dark contrast which eliminates the harsh shadows.
- Gridlines: This option is enabled to assist in maintaining level shots.
- Focus and Exposure: To focus on the screen, tap the screen and then increase exposure slightly either upwards or downwards to get rooms bright yet without being washed out.
These slight modifications make your photos appear finished and do not need cameras.
Be Mindful of Details That Take the Whole Photo Set to the next level
Photos can be made to look professional with details. Secrecy of hide cords and cables behind furniture. Stash garbage bins, laundry baskets, or any other daily things which are not a part of the aesthetic. Smooth blankets, straighten rugs, and reflective surfaces of any kind that can make your reflection.
Wipe off the glass before shooting any windowed room. Most house owners cannot believe the number of times streaks and fingerprints appear in photographs. This is the reason why most photographers suggest such standards that have been recommended as professional window washing not always because you need to contact someone but because the crystal clear appearance is literally a dramatic enhancement of your photographs.
Take a Series of Shots and Choose the best
Make several shots on each side, even though minor changes in exposure, angles and times will give you some surprising results. No matter, once you have shot, take a closer examination on a bigger screen such as a laptop where you can see the weaknesses easier.
Search after equal lighting, straight lines and airy spaces. Select the images that have depth and brightness. In case a window appears smoky or has too much glare, reshoot and clean it further. Note that great outcomes can seem like the transparency which was obtained after professional window cleaning, and that is why there may be no reasons to be afraid of cleaning windows more than once, as long as steaks or reflections still appear.
Conclusion
No expensive tools or professional photographer needed to make the shots of real estate so clear and attractive. Careful planning, correct lighting, dirty windows, clever staging, and bare camera settings will allow any homeowner to create listing quality photos. Considering the clarity of windows- which is mostly kept on the standards of professional window cleaning- is a very little thing that makes a tremendous difference. Through these tricks, you will be making your house look at its best and most open so that your potential buyers will be in love with the house before they even set foot in it.