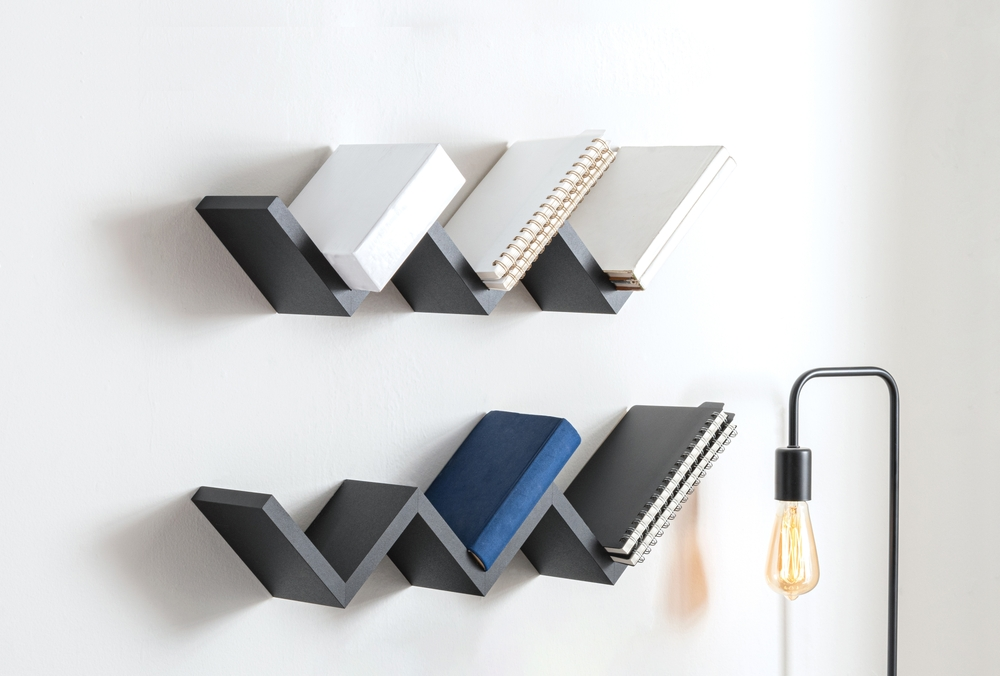
You would like to showcase your unique vintage decoration or an open shelf in the kitchen, where you are supposed to know some essential steps. Unquestionably, floating shelves add an exquisite look and style to your place. They usually show off your decorative stuff and add additional wall storage. However, figuring out how to hang floating shelves in your house is essential.
Not to mention there are several methods to install these shelves, such as screws and internal mount brackets. For this reason, it is essential to remember which one suits your area the best according to average height.
For instance, the open shelf bracket system types and installation methods are variable. The method may vary from showing off your books to showcasing your kid’s toys, also for placing the different types of clocks. This is why you are responsible for selecting the bracket shelf per your need. In this blog, you will discover the necessary tips and tricks to hang the bracket shelves. No matter what place you have, this blog will help you. Hence, you can hang your shelves safely and securely.
Hanging floating shelves:
Although the process of installing floating shelves is simple and easy. However, you need wood, screws, studs, and a drill machine to create holes. Furthermore, you also need to slide the wooden board onto some hard rods. Anyways, the list of tools and materials is given below.
Required material to hang floating shelves:
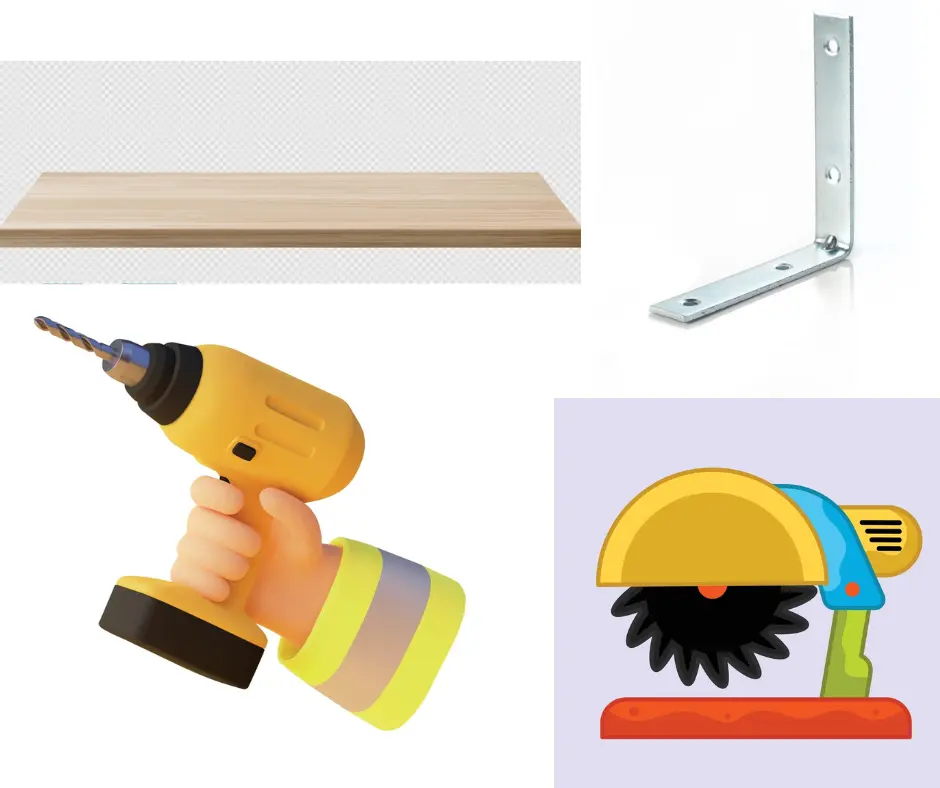
- First of all, you need to have a floating shelf bracket.
- Wooden boards you can use with 3” or any other of your choice.
- Decide the wood type.
- Try to find an extra-long drill machine with a long-bit drill to create holes.
- Also, you need a miter saw to cut the wooden board.
- It is necessary to have a matte topcoat.
- Sandpaper.
Guide to how to hang floating shelves:
Before going through the step guide, the first and foremost guide is to choose the style. Say, if you want the brackets to hide to create an enchanting look in your grey house, this will cause your bracket to float, giving an elegant look. However, when you buy your brackets, check that they are straight. A little error is fine, but they should generally be welded in straight form.
Steps to install the floating shelf:
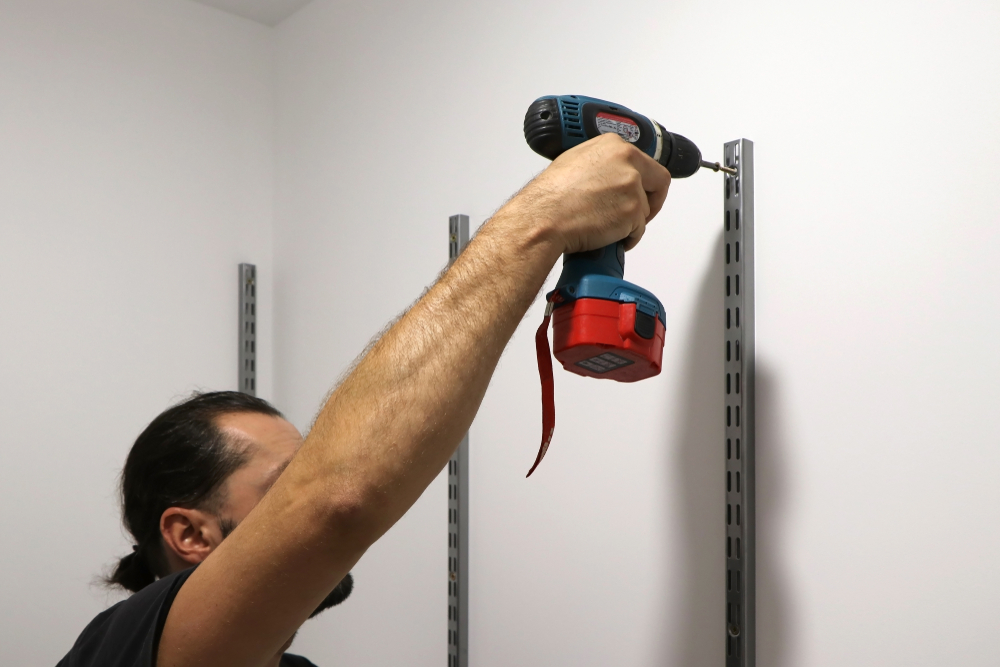
- Decide the place to install the shelf. Afterwards, draw a level line within the located area.
- Mark the studs and pre-drill holes for the bracket.
- Screw the studs into them.
Prepare the wooden boards:
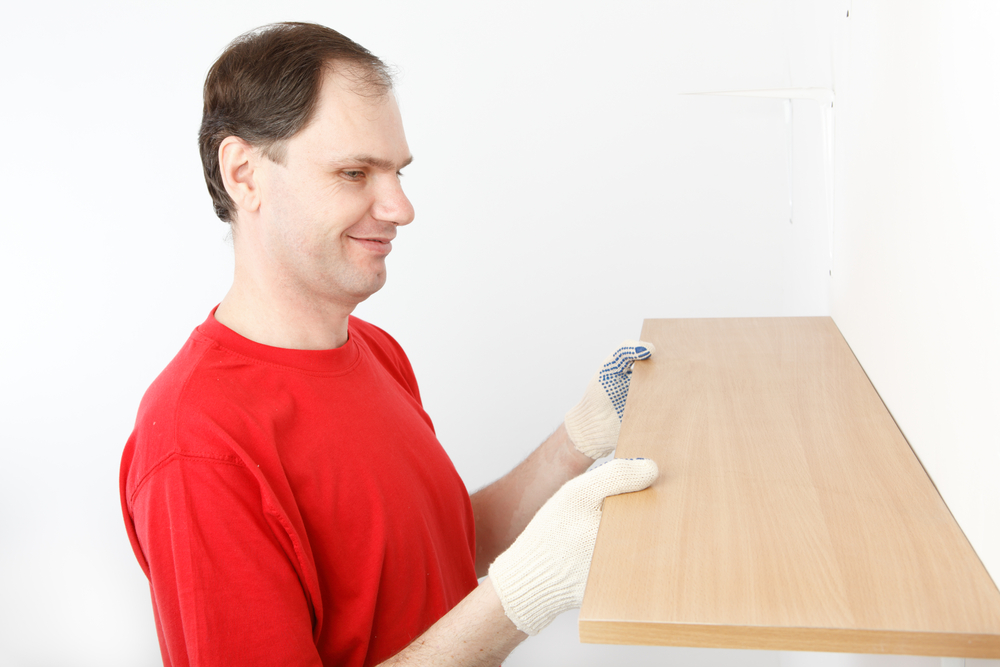
Suppose your wood shelves are solid or hardwood, 3″ thick and 10″ wide * 7″ long.
First, cut them to the required length. If your shelf is between the two walls or the two cabinets, you must leave about 1/16″ of space on both sides.
While calculating the board’s length, it is essential to ensure that it does not scrape against anything when it slides along the space.
In the next step, finish the first process. If you have chosen the rough planks, they will add a rusty look. Keep in mind that shelves are supposed to be very easy to clean. Additionally, you can look for the ones that add warmth and elegance in one go. For this purpose, use sandpaper to add smoothness. Due to sanding, wood might change its color. It all depends on your choice of what you need to put into your space.
Finishing off the floating shelves:
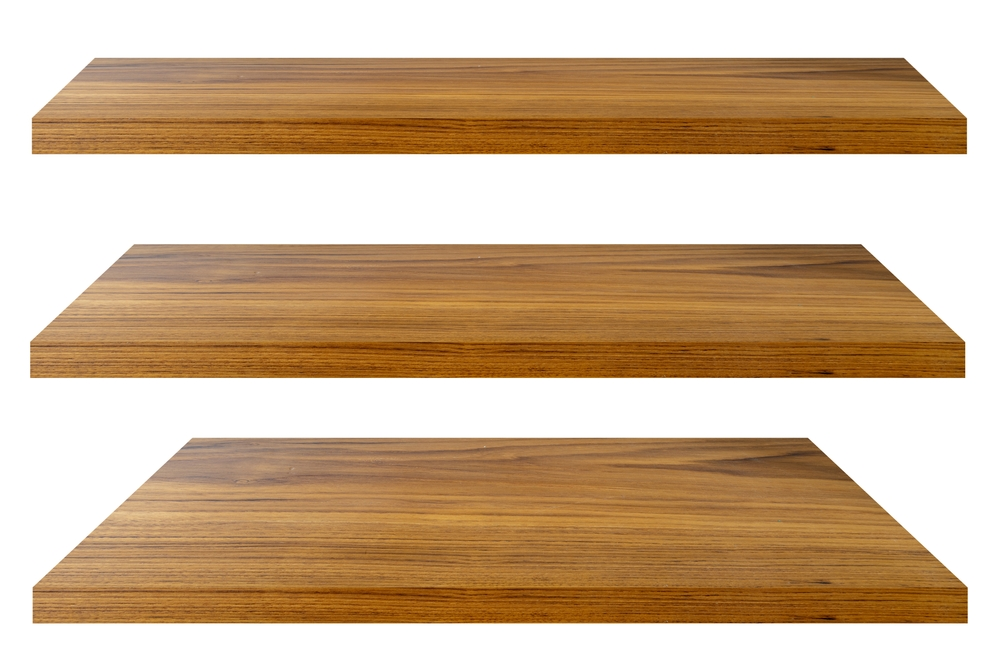
Add a matte coat to the wooden board to add a finishing look. You can use a paintbrush and allow it to dry. Keep in mind, never sand the wood before applying the matte coat.
- Once the matte coat is dry, now you can go for the sanding. Use 150-grit paper to exclude the roughness. Additionally, you can rub the hand over the wood to ensure smoothness.
- Repeat the first step. Apply another coat and repeat the same steps, i.e., let it dry, then sand. Keep on repeating the same process until all the roughness is gone. Do this across all sides of the wooden plank.
- Remember that the ultimate goal of repeating this process is removing roughness from the shelf. Remember, you are only sanding the topcoat, not the wood. This will help you to retain the color you may need.
- In the last step, drill holes for installing the brackets. For this purpose, you need an extra-long drill bit. Ensure the drill bit is the same size or longer than the bracket. Say, if the rods are ½” and the drill bit is the same, try to create some big holes by rotating the drill.
- It is important to remember that brackets are usually straight but not completely straight. You can calculate and define the exact placement of the shelf as per your chosen brackets. Also, consider the location and find out where the plank fits in the straight position.
Installation of brackets for floating shelves:
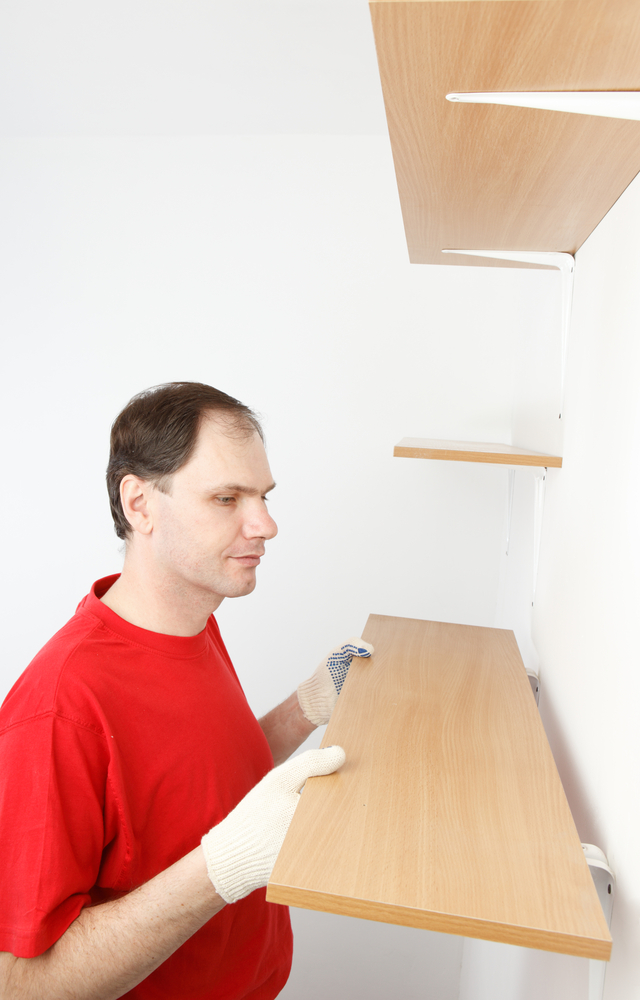
Once the finishing and bracketing process is done, lift the board to the brackets and fit them into the rods. However, if you previously calculated the placement and have properly drilled the holes, you are almost done with the process.
Important points to remember:
It is helpful to have a rubber mallet if you need an extra push.
- Try using painter’s tape before lifting and fitting the board into the space. This ensures that you have followed all the proper steps.
- Ensure that if it makes any contact with the cabinets, it may not cause any damage.
- The brackets must move back and forth; in this way, you can easily pull them into the desired position. You can also go for tiny alterations.
- If it’s required or the fit appears sloppy, you can use a small amount of building glue to fill in the gaps before putting the floating shelves in place.
If you need to read some blogs on gardens, you can read about creeping thyme lawns in our blog section.
Also Read:
Chelsea acton famousparenting
Luxury Villas Italy Le Collectionist
Payday Loans eLoanWarehouse

